Learning Goals
At the end of this Tutorial you will be able to:
- Transform a standard HTML web page into a Bootstrap-enabled web page.
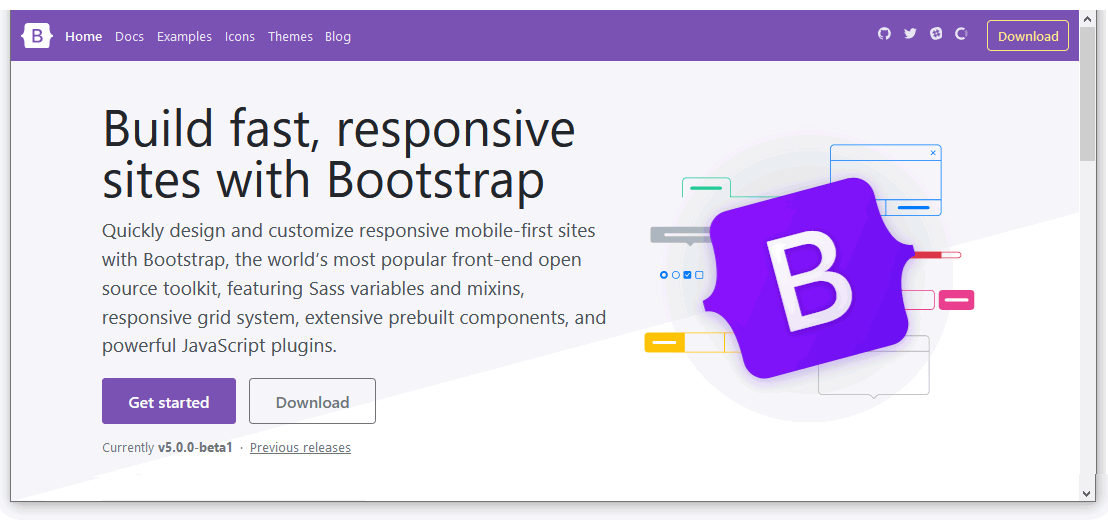
You can view a finished version of the basic Bootstrap web page you will create in this Tutorial by clicking the link below. The finished web page will open in a new tab of your web browser.
About Bootstrap
Bootstrap is a free framework that enables web designers to build web pages more quickly and easily. The current version of Bootstrap is Bootstrap 4.5. A newer version, Bootstrap 5, is due for release later in 2021.
Bootstrap offers a wide range of easy-to-use user interface components for working with common web page elements such as typography, forms, buttons and navigation menus.
Creating a sub-folder for your Bootstrap files
Before working with Bootstrap-based web pages, let's begin by creating a sub-folder on your computer for holding your Bootstrap-related files. Here are the steps:
- In File/Windows Explorer, display your websites folder. This is your 'main' folder where your store all your web design and development files.
- In this folder, create a new sub-folder named bootstrap.
- Later, you will be using some other CSS files and images with your Bootstrap projects. So let's create a sub-folder structure for those files too.
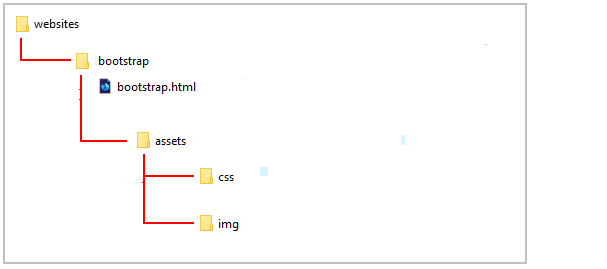
Inside your new bootstrap sub-folder, create a sub-folder named assets.
- Next, inside the assets sub-folder, create two new sub-folders, named css and img.
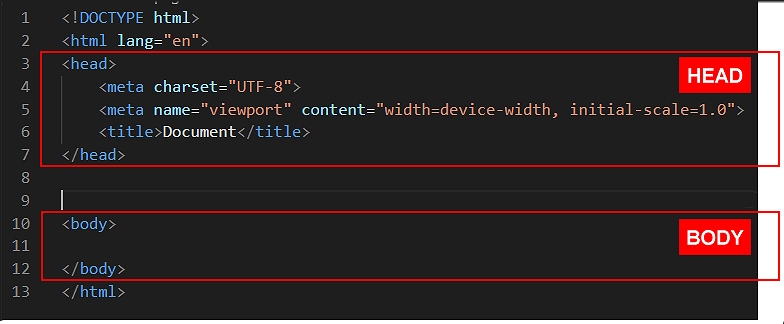
Your complete folder and sub-folder structure should now look as shown below.
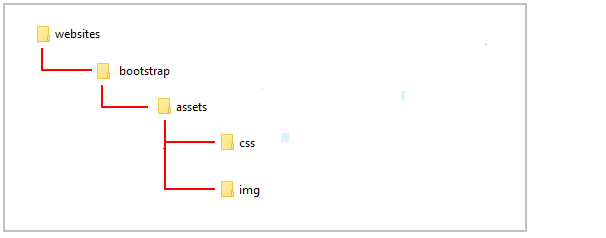
That's it. You have now created an organised, tidy folder structure for holding your Bootstrap-related files.
Creating a basic Bootstrap web page
Let’s create a new web page – that is, an HTML file. Here are the steps:
- Start Microsoft Visual Studio Code.
- Choose the File | New File command.
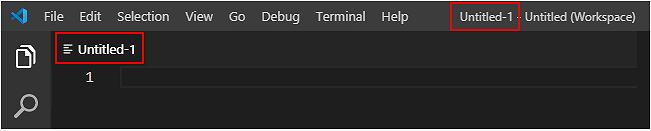
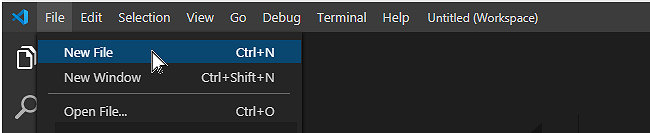 VS Code creates a new, empty file in a new tab within your VS Code window.
It suggests the name of Untitled-1 for your new file.
VS Code creates a new, empty file in a new tab within your VS Code window.
It suggests the name of Untitled-1 for your new file.
 Let’s give your file a new name and save it as an HTML file.
- Choose the File | Save As... command.
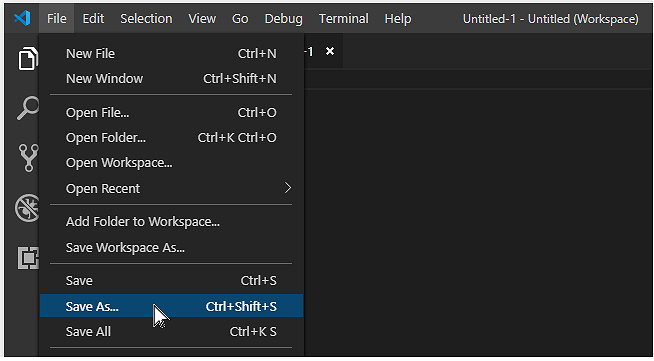
- In the dialog box now displayed, save your file in the bootstrap sub-folder of your main websites folder with this name:
bootstrap.html
 Because you have included the filename extension (.html), you can ignore the second box named Save as type.
After typing the name of your file, click the Save button.
VS Code displays the name of your bootstrap.html file at the top of the screen.
Because you have included the filename extension (.html), you can ignore the second box named Save as type.
After typing the name of your file, click the Save button.
VS Code displays the name of your bootstrap.html file at the top of the screen.

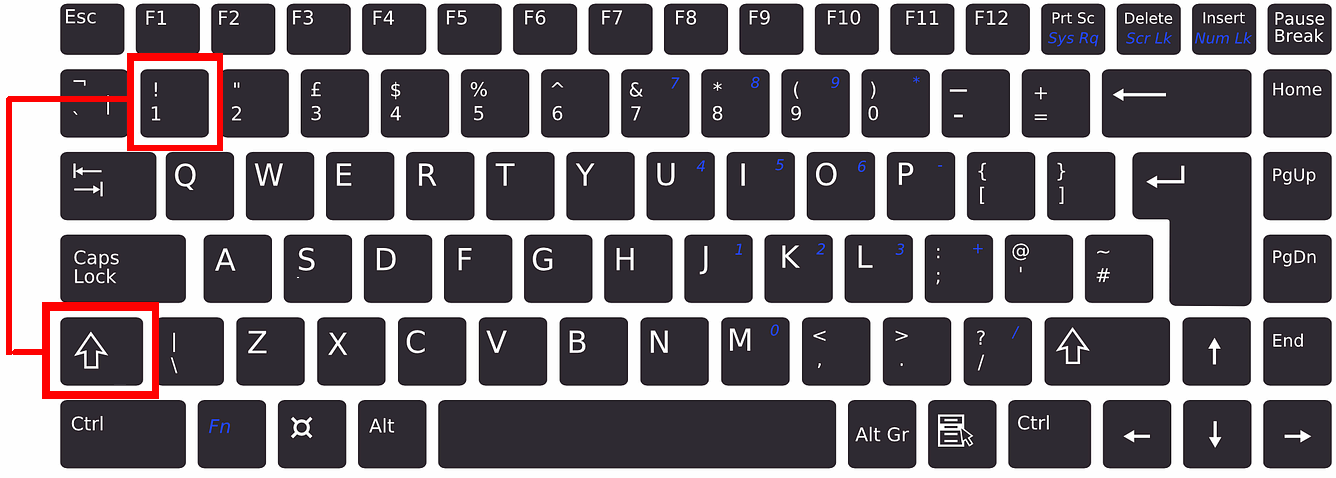
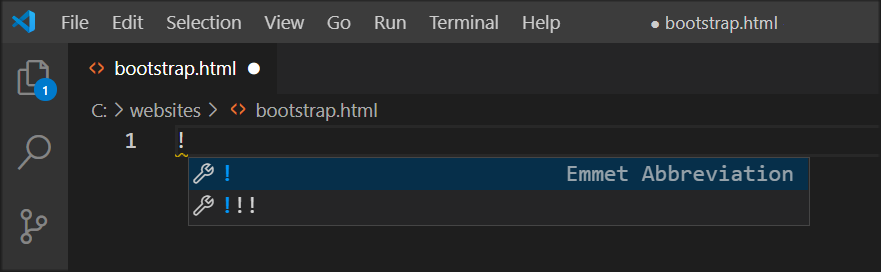
- In VS Code, click anywhere in your empty web page and type the exclamation mark ! (Shift key and 1 key).
 After one or a few seconds, the Emmet Abbreviation menu appears. Click on the first option from the menu. Or press the Enter key.
 VS Code now fills your new file with the basic HTML structure.
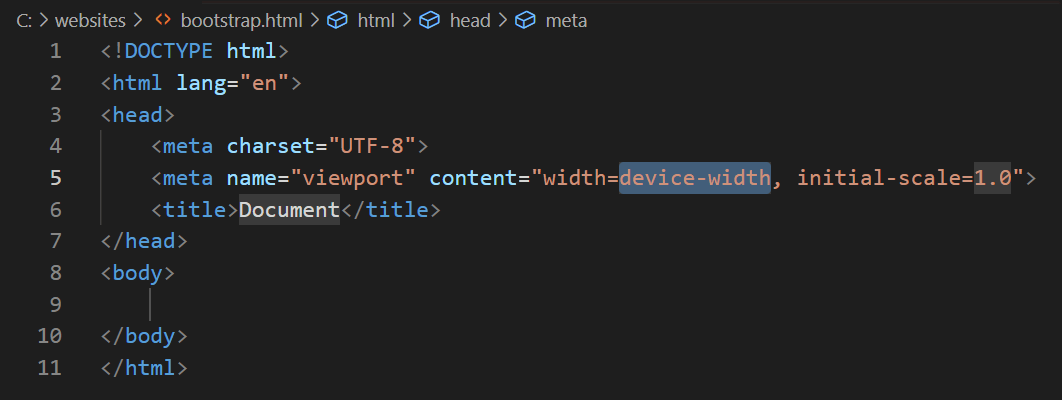
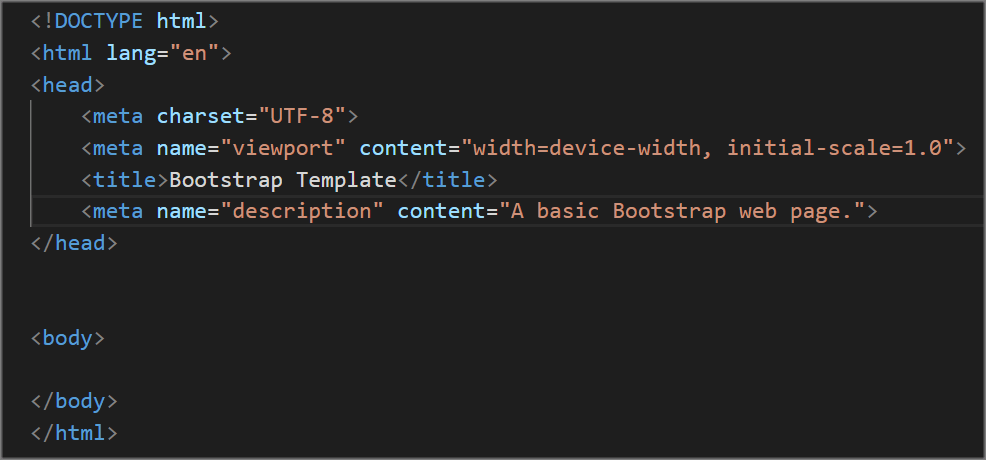
- To make your web page easier to read and edit, add some blank lines after the closing </head> tag and before the opening <body> tag.
Click just before the <body> tag and press the Enter key one, two or three times.
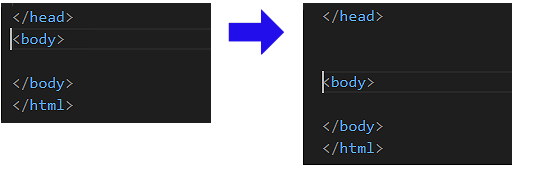 When you look at the HTML of your web page on the VS Code screen, you can now see visually ‘at a glance‘ where the <head> ends and the <body> begins.
- Save your HTML file. You can choose the File | Save command from the menu. Or simply press Ctrl key (Windows) or Command ⌘ key (Apple) and press the s (for Save) key.
That’s it. You have successfully created a basic, empty web page.
Adding a title to the <head> of your web page
Now you will update the title to your web page.
- In the <head> of your bootstrap.html file, you can see that VS Code has given your page a default title of Document.
This text is located between the opening <title> and closing </title> tags.
<title>Document</title>
- Replace this with the following new text:
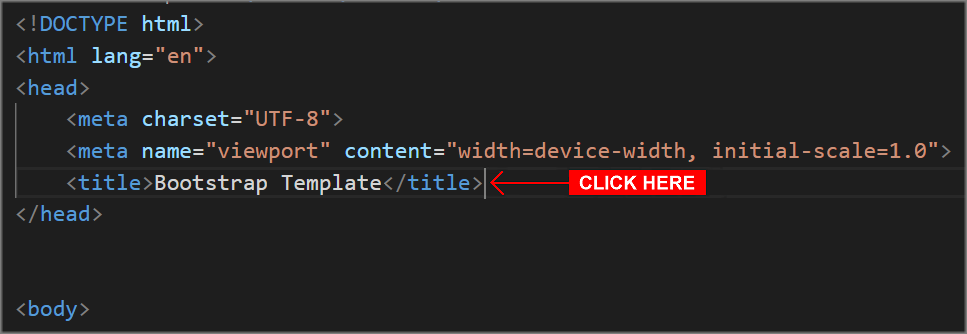
<title>Bootstrap Template</title>
- When finished, save your HTML file.
Adding a description to the <head> of your web page
Now you will add a summary description of the contents of your web page.
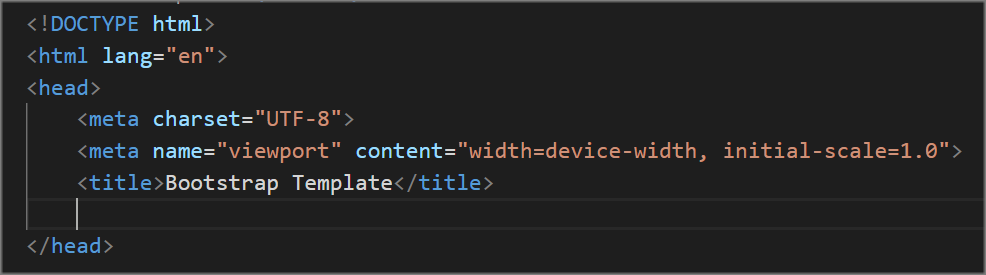
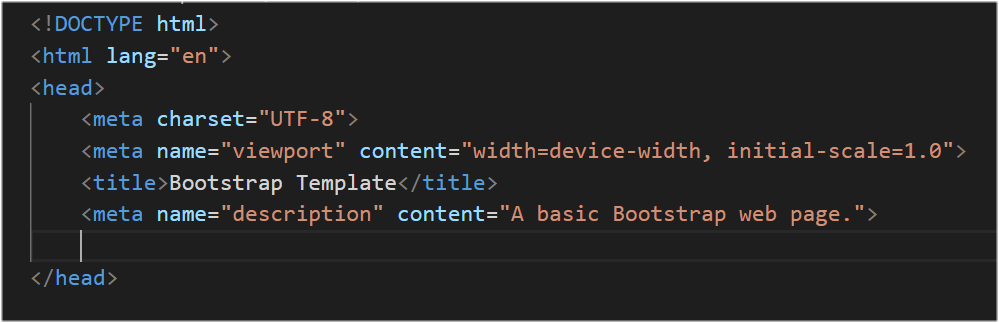
- In the <head> of your web page, at the end of the line that contains the <title> ... </title> tag pair, click with the mouse and then press the Enter key to open a new, blank line.
 Your web page should now look as shown below.
- Copy the following line:
<meta name="description" content="A basic Bootstrap web page.">
- Paste the copied text in your web page, on the new, blank line you created under the <title> ... </title> tag pair.
See below.
- Save your bootstrap.html file.
All done. You have now provided a title and description to your basic web page.
Adding the Bootstrap CSS link to the <head> of your web page
Now you will add a link to the Bootstrap stylesheet CSS file (version 4).
- In the <head> of your web page, at the end of the line that contains the web page description, click with the mouse and then press the Enter key to open a new, blank line.
Your web page should now look as shown below.
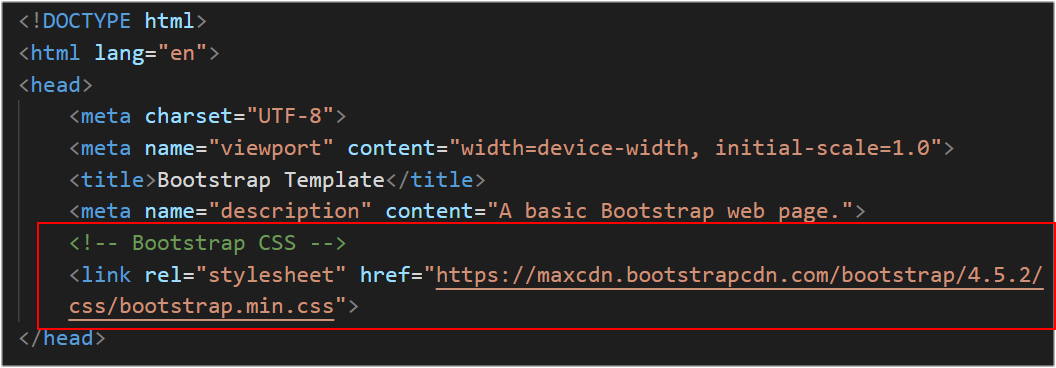
- Copy the following line and comment:
<link rel="stylesheet" href="https://maxcdn.bootstrapcdn.com/bootstrap/4.5.2/css/bootstrap.min.css">
- Paste the copied CSS link and comment in the new, blank line you created under the description.
See below.
- Save your bootstrap.html file.
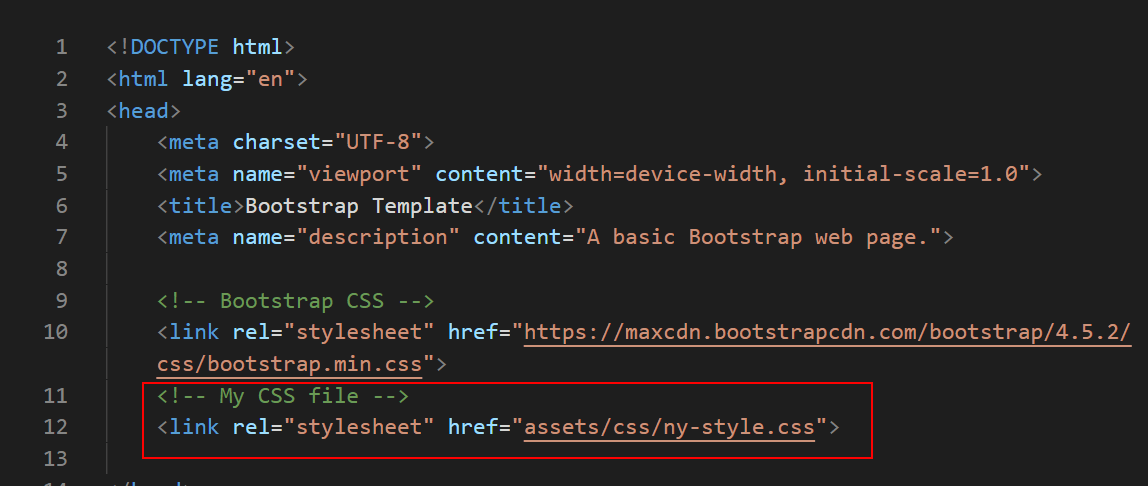
You can also add one or more other CSS stylesheets to the <head> of a Bootstrap web page.
When you do, you will always add the CSS file(s) after the Bootstrap CSS file. See the example below.
Adding the three Bootstrap JavaScript links to the end of your web page
Finally, you will add the links to the JavaScript files required by Bootstrap to work.
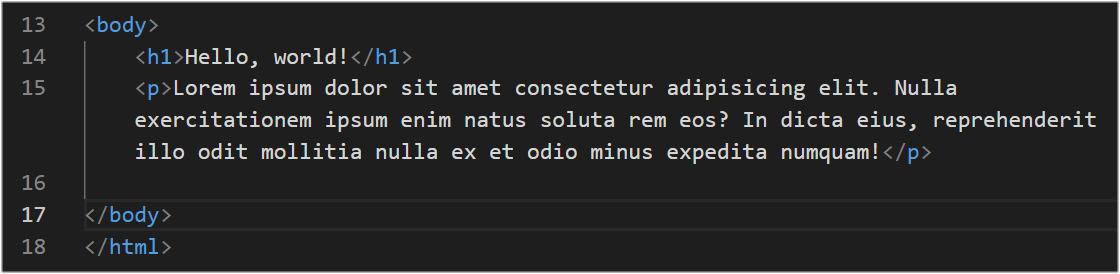
- In the body of your web page, just after the opening <body> tag, copy-and-paste the placeholder text below.
<h1>Hello, world!</h1>
<p>Lorem ipsum dolor sit amet consectetur adipisicing elit. Nulla exercitationem ipsum enim natus soluta rem eos? In dicta eius, reprehenderit illo odit mollitia nulla ex et odio minus expedita numquam!</p>
See below.
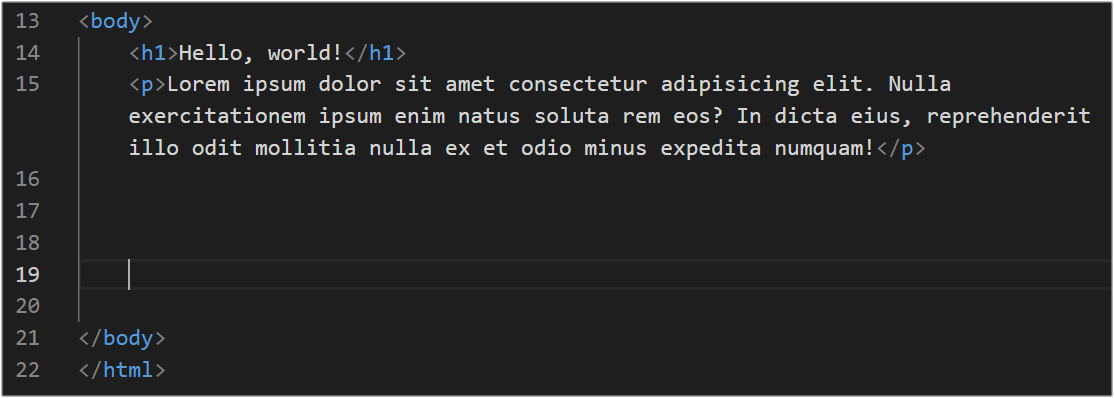
- After the placeholder text, press the Enter key a few times to open up some blank lines. These blank lines will help you distinguish between the content of your web page and the links to the JavaScript files required by Bootstrap.
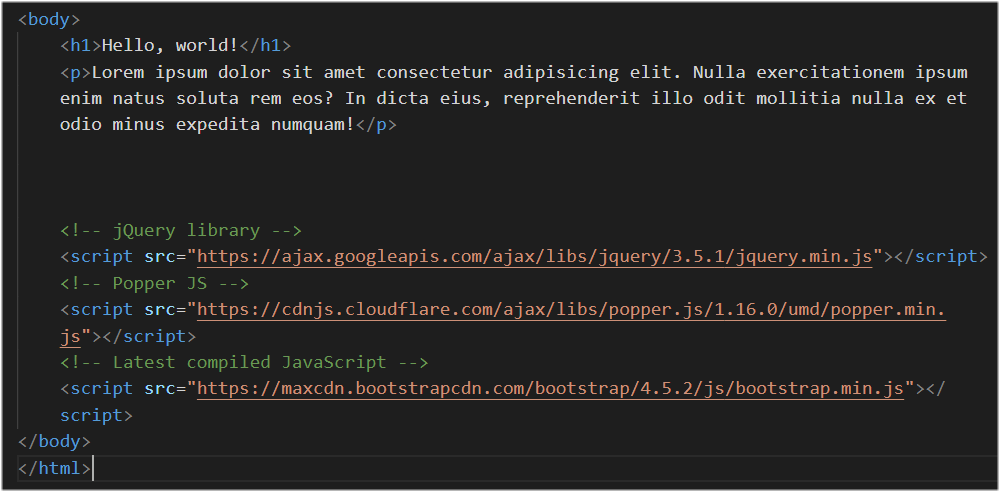
- On a blank line just before the closing </body> tag, copy-and-paste the links (with comments) to the three JavaScript files needed by Bootstrap.
<script src="https://ajax.googleapis.com/ajax/libs/jquery/3.5.1/jquery.min.js"></script>
<script src="https://cdnjs.cloudflare.com/ajax/libs/popper.js/1.16.0/umd/popper.min.js"></script>
<script src="https://maxcdn.bootstrapcdn.com/bootstrap/4.5.2/js/bootstrap.min.js"></script>
Your web page should now look as shown below.
- Save your bootstrap.html file.
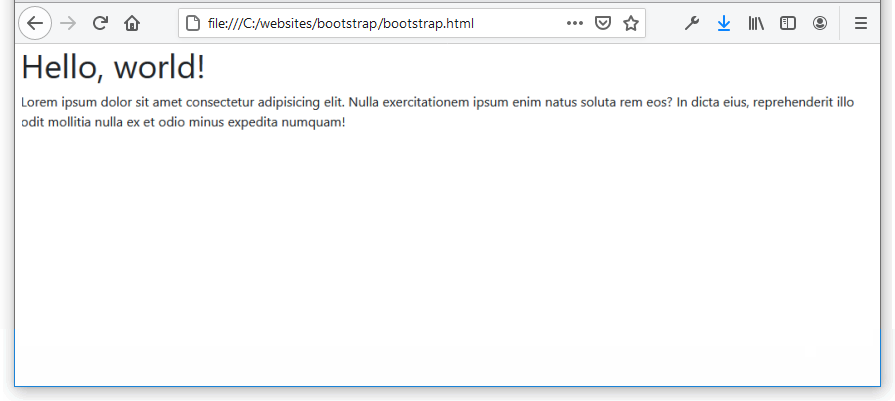
That’s it. You have now created a basic Bootstrap page that you can use as a foundation for building a wide range of web pages with various layouts and styles.
If you display your bootstrap.html web page in your web browser, it should look as shown below.
Click the link below to see an example of the finished version of the basic Bootstrap web page.
bootstrap.html
Below you can see where your basic bootstrap.html file is stored within the folder structure on your computer.
Note that you do not need any other files on your computer to create a basic Bootstrap-based web page.
The Bootstrap CSS file and three Javascript files are all hosted online on another web server.
Uploading your Bootstrap folder to GitHub
Follow these steps below to upload your entire Bootstrap folder to your website on GitHub.
- Open a new tab in your web browser and go to GitHub.com. If you are not already signed in to your GitHub account, sign in now.

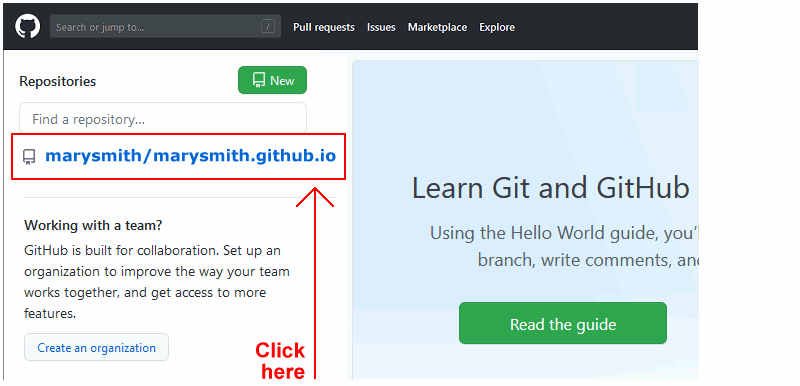
- On your GitHub home page, click the name of the repository (‘repo’) that holds your web pages. Its name will look as follows, where username is your chosen username on GitHub.
username.github.io
- On the next GitHub screen displayed, click the Add file button near the right of the screen and choose Upload files from the dropdown list.

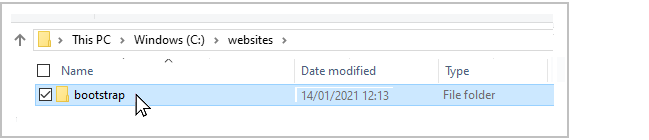
- In File/Windows Explorer, select your bootstrap folder, and drag-and-drop it to your repository on GitHub.
- Scroll down to the bottom of the GitHub screen, and accept or edit the short message (Add files via upload) in the Commit changes box.
Finally, click the green Commit changes button to upload your entire bootstrap folder and all the files it contains.
Your uploaded web page is published on GitHub at a web address similar to the following, where username is the username you have chosen for your GitHub account:
https://username.github.io/bootstrap/bootstrap.html
It may take a few minutes for your uploaded files to appear on GitHub.